Introduction
This guide provides a step-by-step tutorial on setting up a voice AI agent that makes outbound calls using LiveKit, Twilio SIP Trunk, Deepgram (STT), ElevenLabs (TTS), and Deepseek (LLM).
COde
1. Prerequisites
To set up your AI voice agent, you will need:
✅ Phone Number → Purchase from Twilio or Telnyx.
✅ LiveKit Cloud Account → Sign up at LiveKit or self-host a LiveKit server.
✅ API Keys → Obtain the following:
- LiveKit (API Key & Secret)
- Deepgram (STT – Speech to Text)
- ElevenLabs (TTS – Text to Speech)
- Deepseek (LLM – AI Brain for Voice Agent) ✅ LiveKit CLI Installed → Required to manage your AI voice agent.
✅ Python Installed → Ensure Python 3.8+ is installed.
2. Install LiveKit CLI
LiveKit CLI is essential for managing the AI voice agent.
winget install LiveKit.LiveKitCLI
Verify the installation:
lk --version
3. Set Up Environment Variables
LiveKit and third-party services require environment variables. Set them up as follows:
export LIVEKIT_URL=wss://your-livekit-instance.livekit.cloud
export LIVEKIT_API_KEY=<your_livekit_api_key>
export LIVEKIT_API_SECRET=<your_livekit_api_secret>
export DEEPGRAM_API_KEY=<your_deepgram_api_key>
export ELEVENLABS_API_KEY=<your_elevenlabs_api_key>
export DEEPSEEK_API_KEY=<your_deepseek_api_key>
export SIP_OUTBOUND_TRUNK_ID=<your_sip_trunk_id>
If using a .env file, create .env.local and add:
LIVEKIT_URL=wss://your-livekit-instance.livekit.cloud
LIVEKIT_API_KEY=<your_livekit_api_key>
LIVEKIT_API_SECRET=<your_livekit_api_secret>
DEEPGRAM_API_KEY=<your_deepgram_api_key>
ELEVENLABS_API_KEY=<your_elevenlabs_api_key>
DEEPSEEK_API_KEY=<your_deepseek_api_key>
SIP_OUTBOUND_TRUNK_ID=<your_sip_trunk_id>
4. Creat Twillio Sip Trunk
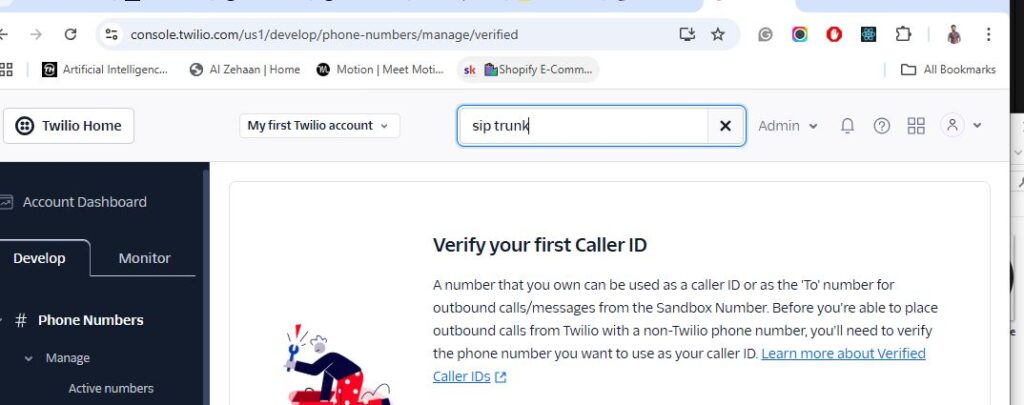
Choose ELAstci sip trukning…
Name it ,,,
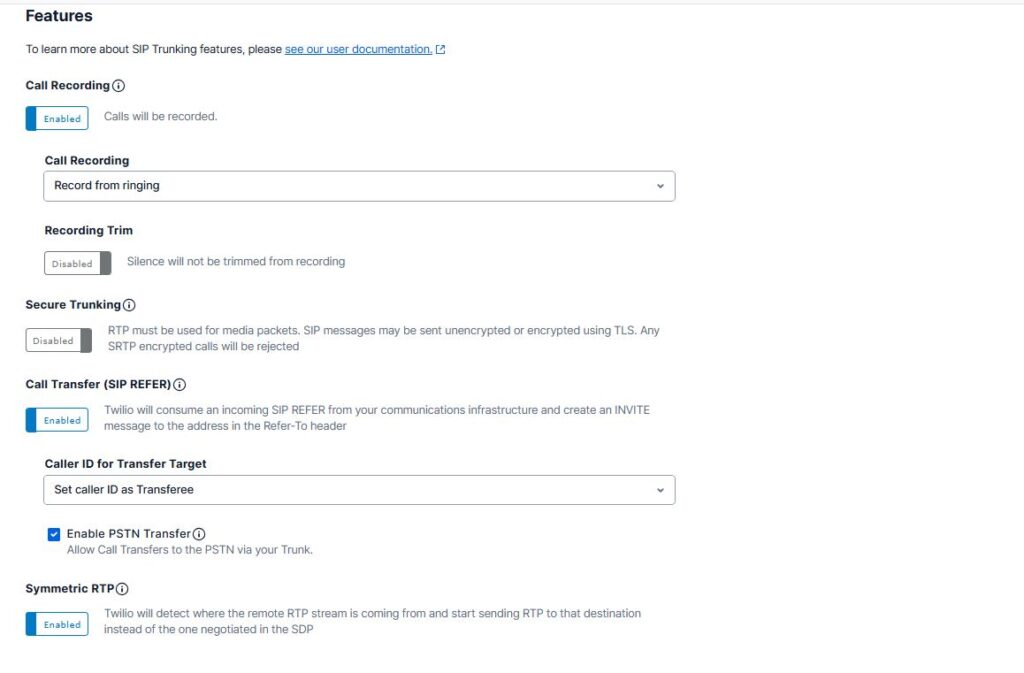
=> Enable Recording and call transfer
Add termination Uri…could by anything,,
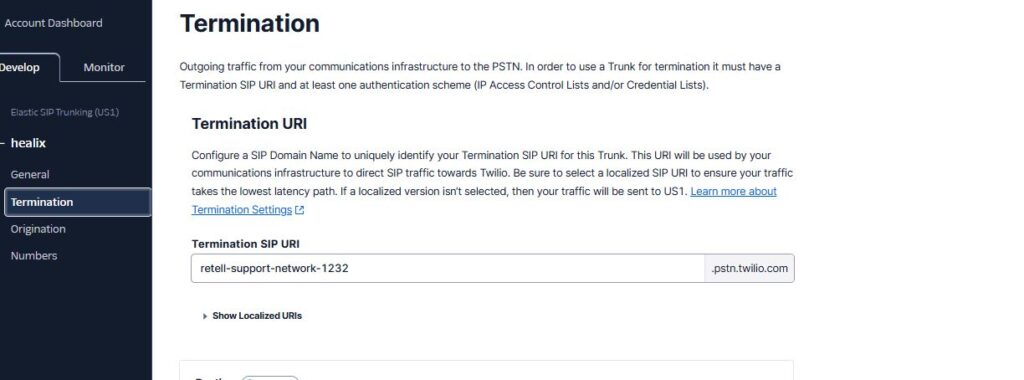
Copy termination uri name… in my case it is retell-support-network1232 ( It could be any name )
YOu will need this later.. Save it
Add your credentials… ( Email password )
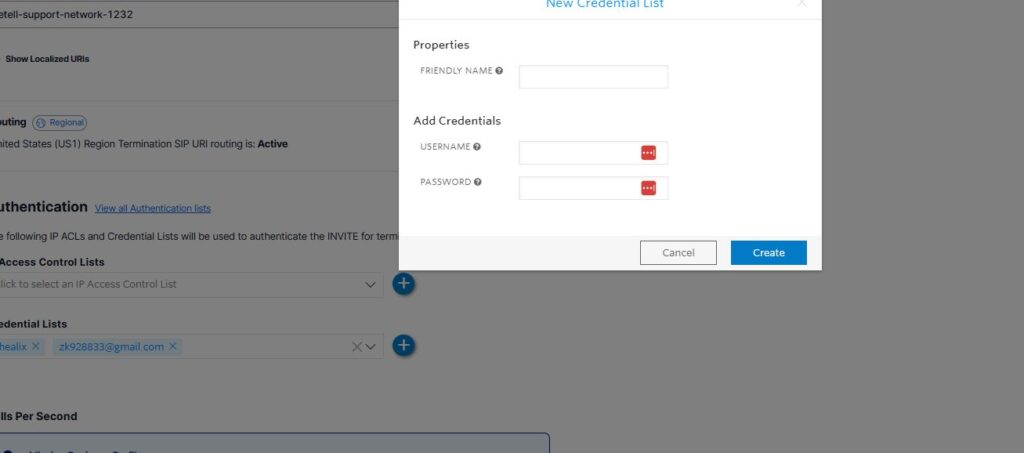
When you add your credentials.. Copy them and save the whole settings…
Lastly oyu need to attch phone number to this trunk…
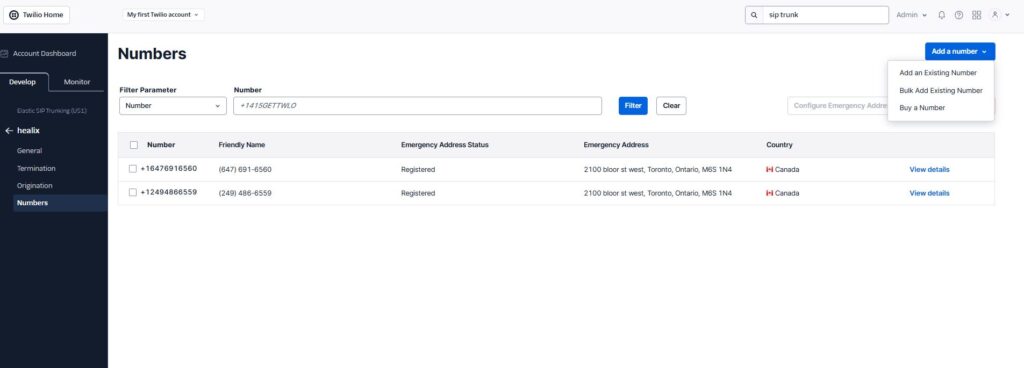
5. Configure Twilio SIP Trunk For Resgistration on Livekit
Twilio SIP Trunk is required to make outbound calls.
- Create a file named
outbound-trunk.jsonwith the following details:
{
  "trunk": {
    "name": "Twilio SIP Trunk",
    "address": "<your-twilio-trunk>.pstn.twilio.com",
    "numbers": ["+15105550100"],
    "auth_username": "<your_twilio_username>",
    "auth_password": "<your_twilio_password>"
  }
}

==>>> For adress it's the name of your sip trunk,,, Which had in our step 3 when we created sip trunk with twillio... - Register the SIP Trunk with LiveKit using the command:
lk sip outbound create outbound-trunk.json
- Copy the SIPTrunkID from the output, and add it to your Env sip trunk id…
7. Making an Outbound Call
To test your AI agent, initiate an outbound call:
Run your server with this command

Project-Directory/python server.py 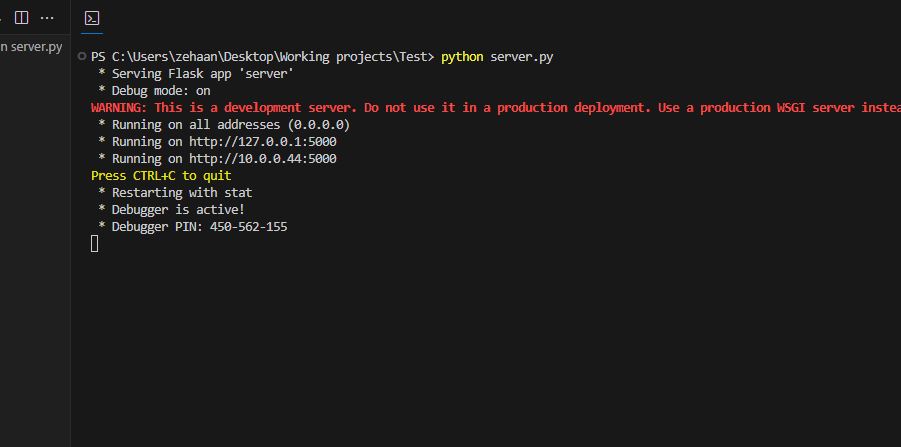
2) Now you need to run NGrok,,,
if you don’t have an account fro ngrok,, create one ,,
Then copy this …
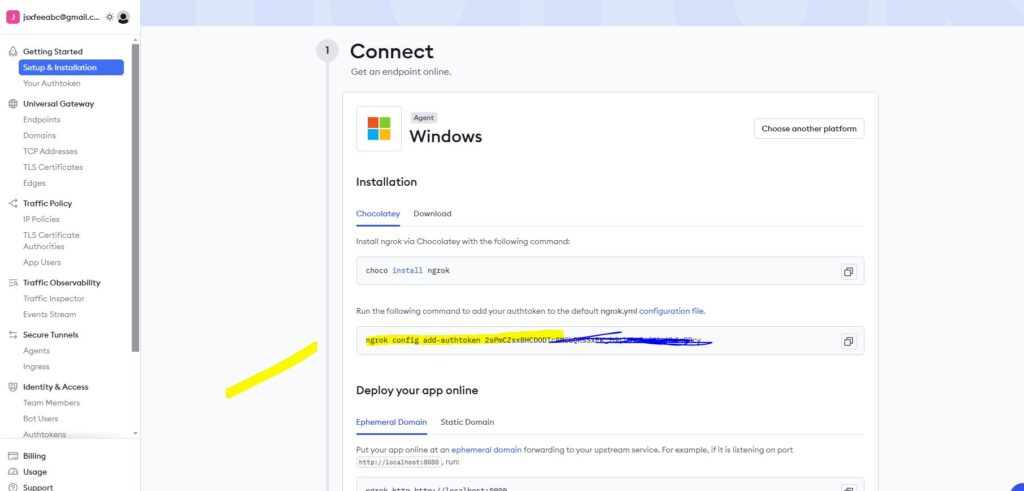
Just paste it into your project erminal COpy paste…
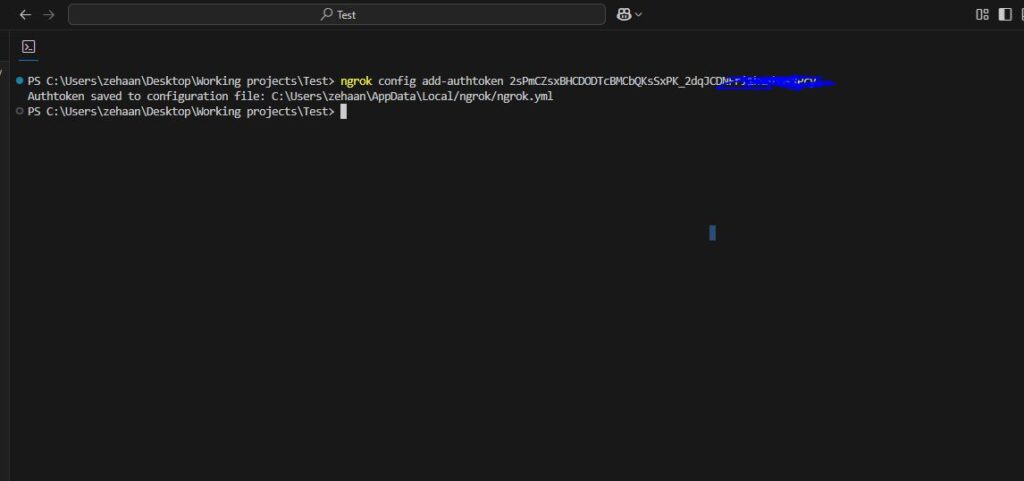
now write the last command…
ngrok http 5000…
You will get a Url copy that…
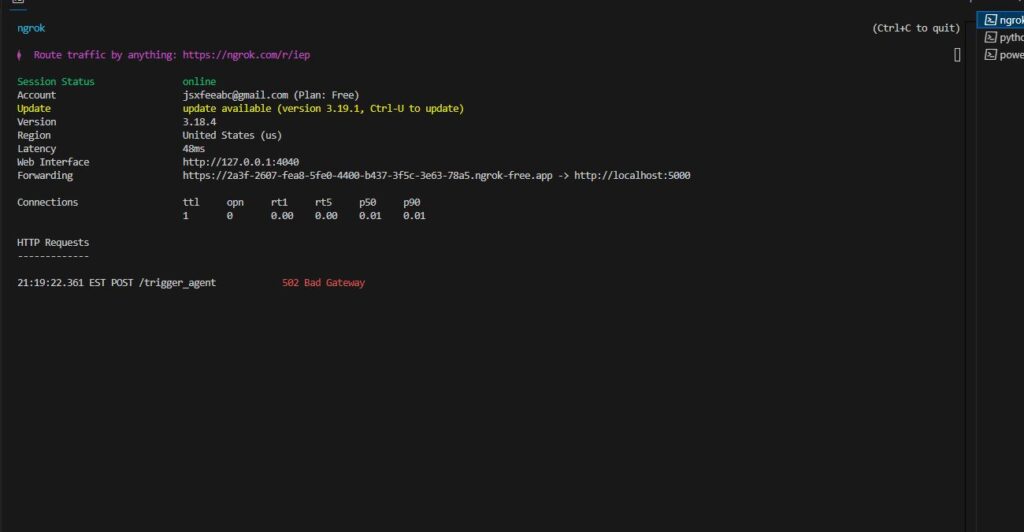
Copy the forwarding URL put it into make.com http make request Module that i hsared in the video.. And boom….
✅ If everything is set up correctly, your phone should ring! 🎉
8. Deploying the Flask Server
We have a Flask-based API that triggers the AI agent via HTTP requests.
Install Dependencies
pip install flask dotenv
Run the Flask Server
python server.py
You can Manually now trigger an agent via an API request: ( Or it is done through make.com already )
curl -X POST http://localhost:5000/trigger_agent \
     -H "Content-Type: application/json" \
     -d '{"phone_number": "+15105550100"}'
9. Monitoring Calls & Handling Call End Events
The AI agent checks for call statuses and handles hangups, voicemail detection, and intent-based actions.
Checking Call Status:
start_time = perf_counter()
while True:
    call_status = participant.attributes.get("sip.callStatus")
    if call_status == "active":
        print("✅ User answered the call!")
        break
    elif call_status == "hangup":
        print("❌ User hung up!")
        break
    await asyncio.sleep(1)
Conclusion
By following this guide, you’ve successfully: ✅ Installed LiveKit CLI & dependencies.
✅ Configured Twilio SIP Trunk.
✅ Set up an AI voice agent using LiveKit, Deepgram, ElevenLabs, and Deepseek.
✅ Made an outbound call using AI.
You now have a fully functional AI-powered voice agent! 🚀 Let me know if you need further optimizations. 🎯